Guts & Blackpowder
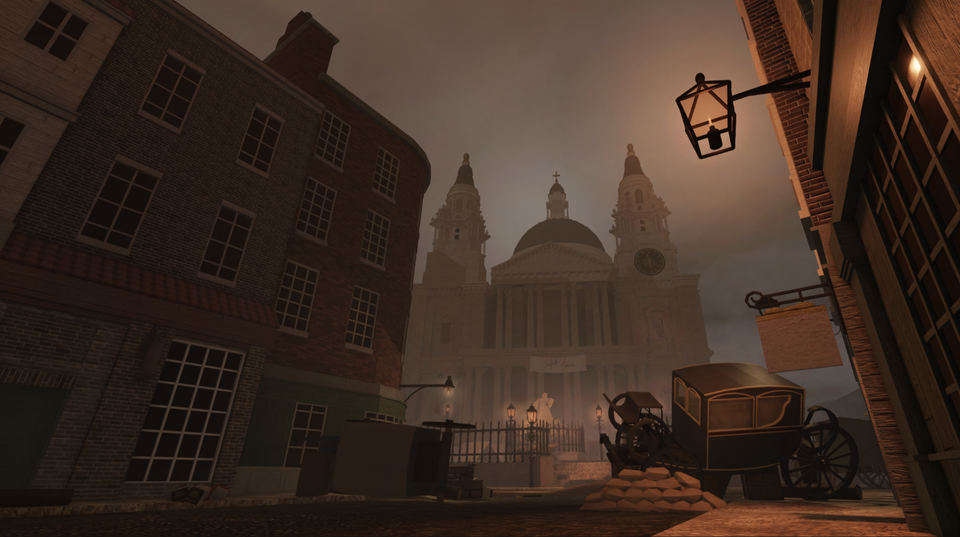
At school, my friends often talk about video games. They speak particularly of a Roblox game called Guts and Blackpowder. I had only recently started playing it, but I found it much more interesting than I expected. My favourite map was London, mainly because of how much lore is hidden throughout the environment.
Guts and Blackpowder takes place during an alternate version of the Napoleonic Wars. Instead of continuing to fight one another, the armies of Europe are forced to face the Blight, a plague that turns the dead into what soldiers in the game call “cannibals”.
Britain initially has an advantage: the English Channel and the Royal Navy. However, the Blight eventually reaches England and spreads towards London.
By the time the London map begins, the defence of the city has already failed.
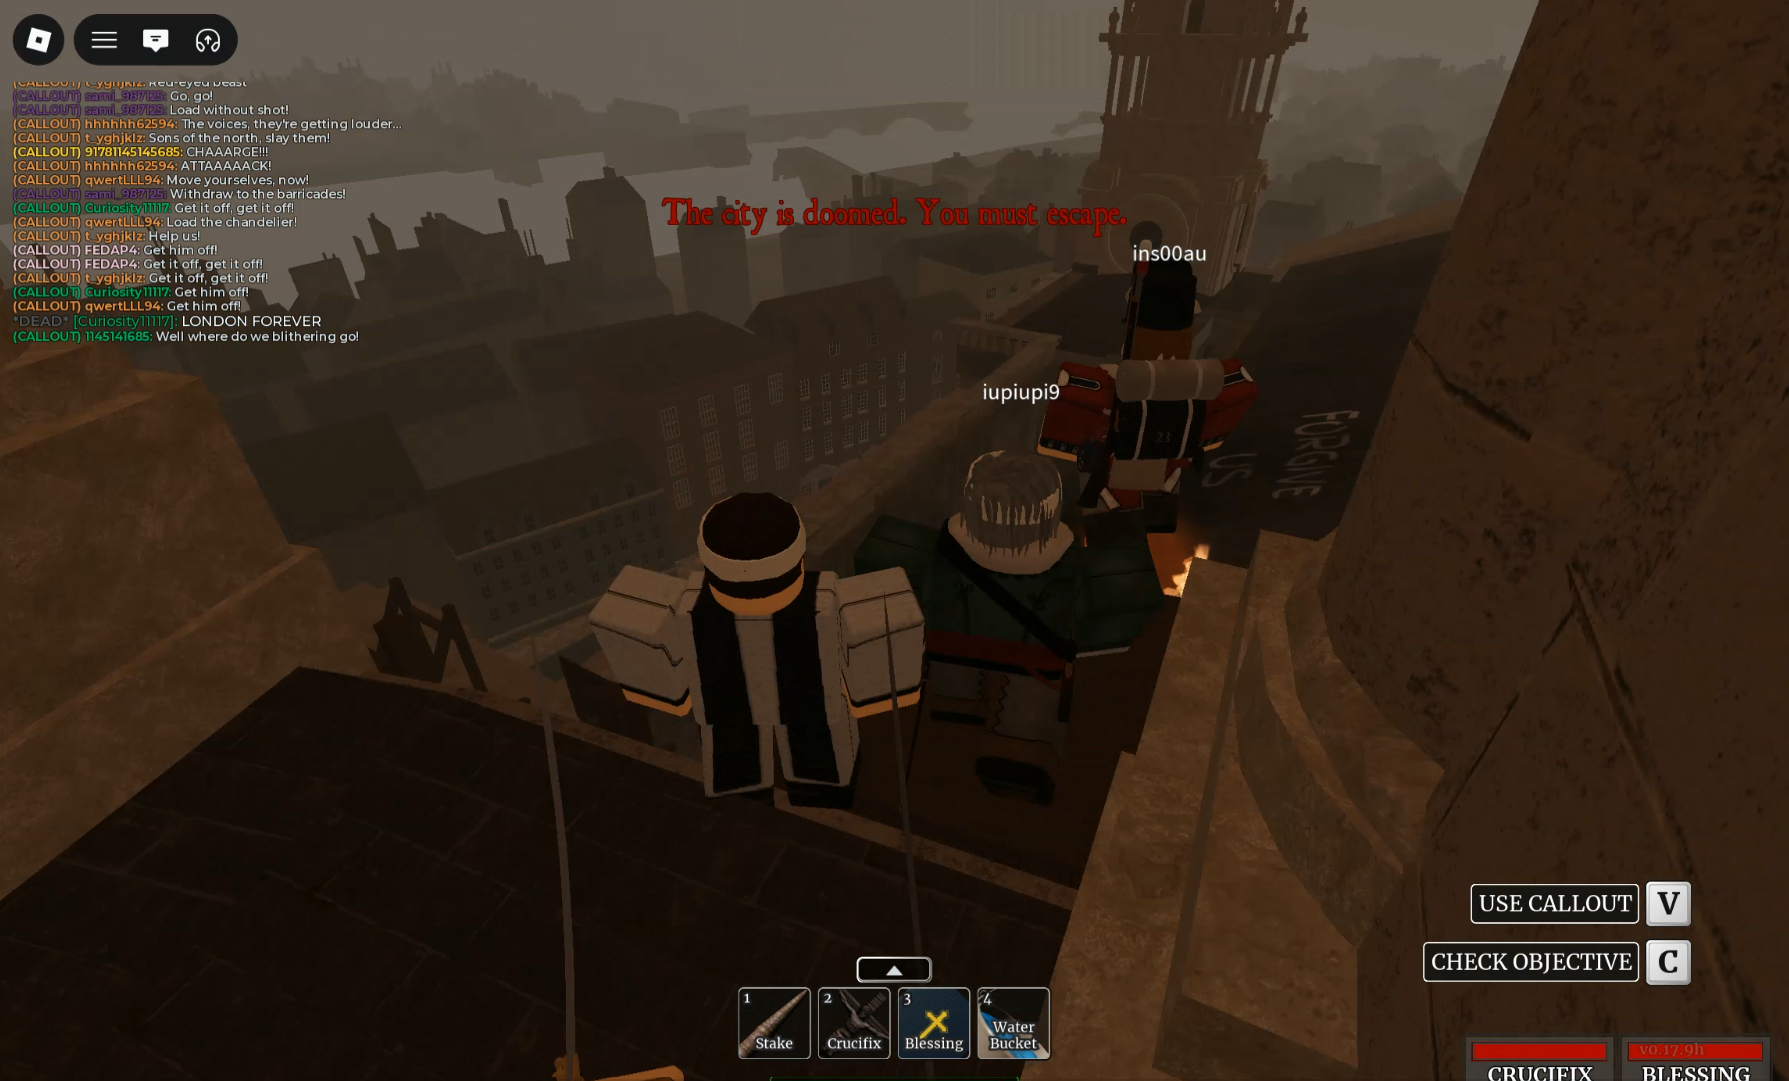
The players spawn in a ruined St Paul’s Cathedral. Parts of the building are burning, the roof is damaged, and nearby bridges have been destroyed. One line of dialogue immediately hints at what happened:
“They took down Blackfriars. Westminster looks intact.”
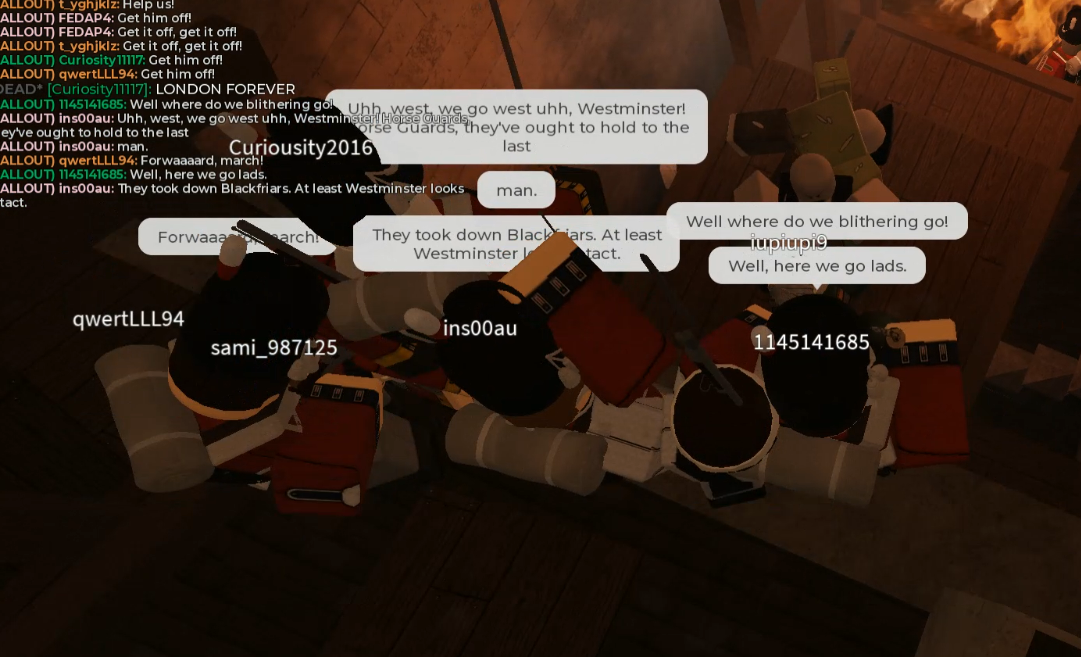
The game never directly explains who destroyed Blackfriars Bridge, but the evidence strongly suggests that the British Army demolished it in an attempt to contain the infection.
Inside St Paul’s, the players encounter infected soldiers wearing the uniforms of the 23rd Regiment of Foot. When the players reach the courtyard, they find tents, stretchers and bodies arranged in rows. The area appears to have been used as a field hospital. This is one of the first signs that St Paul’s was not simply a shelter: it had become part of an organised military attempt to hold London together.
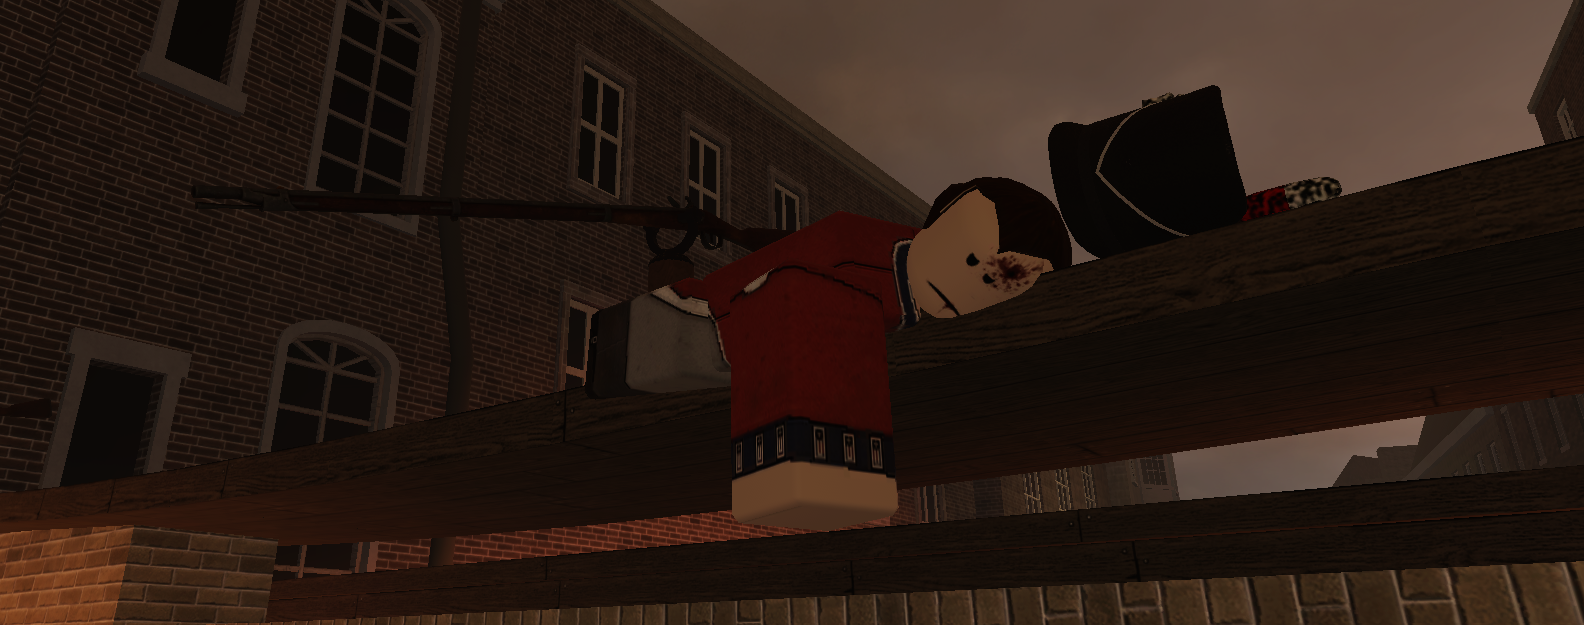
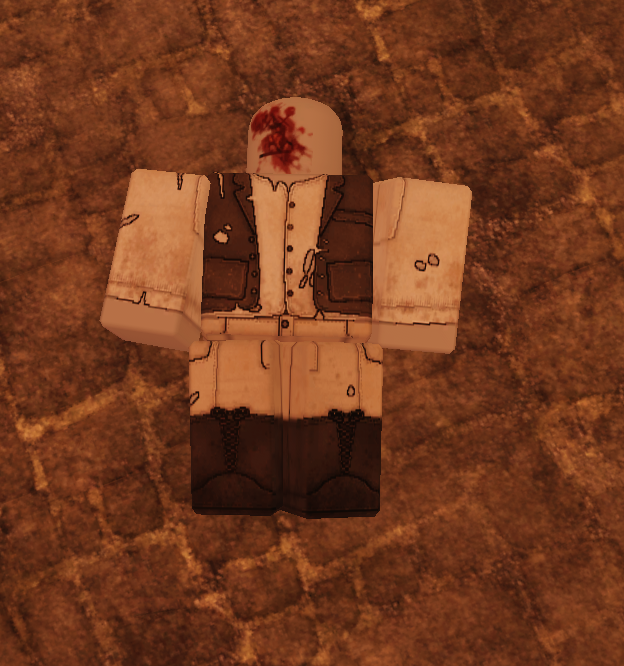
After escaping the courtyard, the players reach Ludgate Block. On top of the barricade lies a dead British soldier beside three muskets. Unlike many other corpses in the game, he appears to have been shot in the head. It is unclear whether he was killed by another soldier, a marauder or a desperate civilian, but the scene indicates that London’s defenders were no longer only fighting the infected.
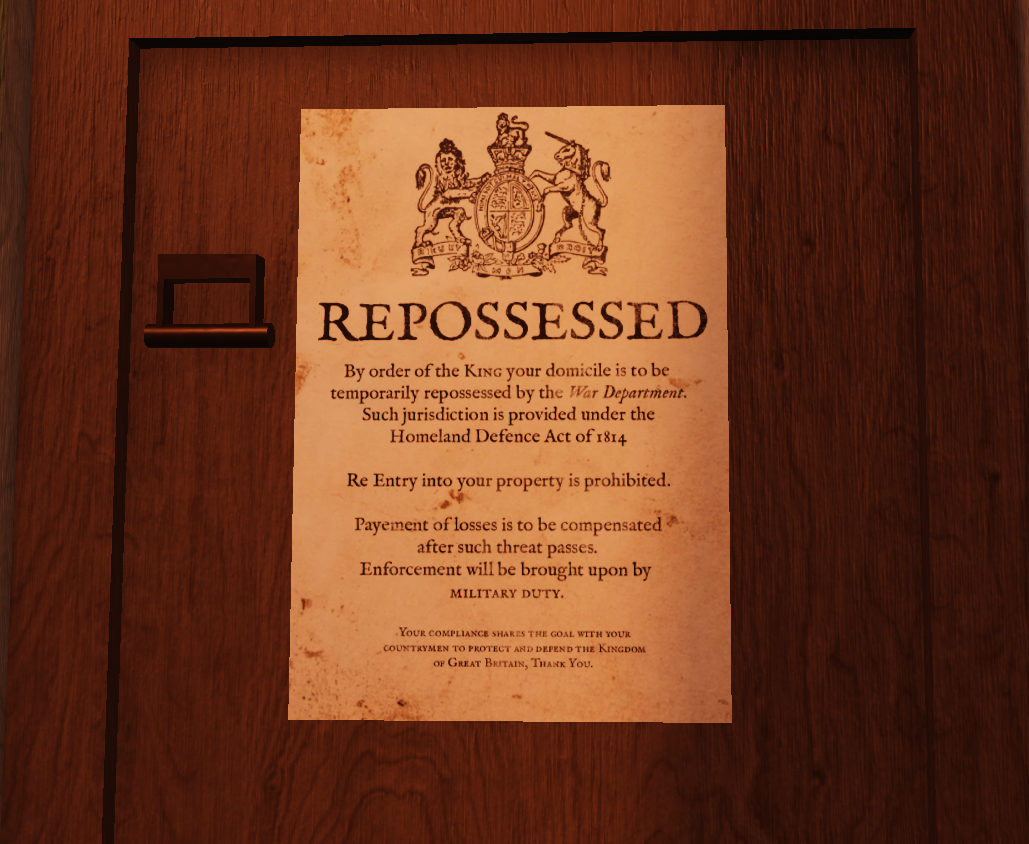
The destroyed bridges show that the army had already begun sacrificing parts of London to stop the Blight. Beyond Ludgate, however, the crisis moves beyond military defence. Government notices bearing the King’s seal appear on buildings, showing that ordinary civilian life has also begun to disappear.
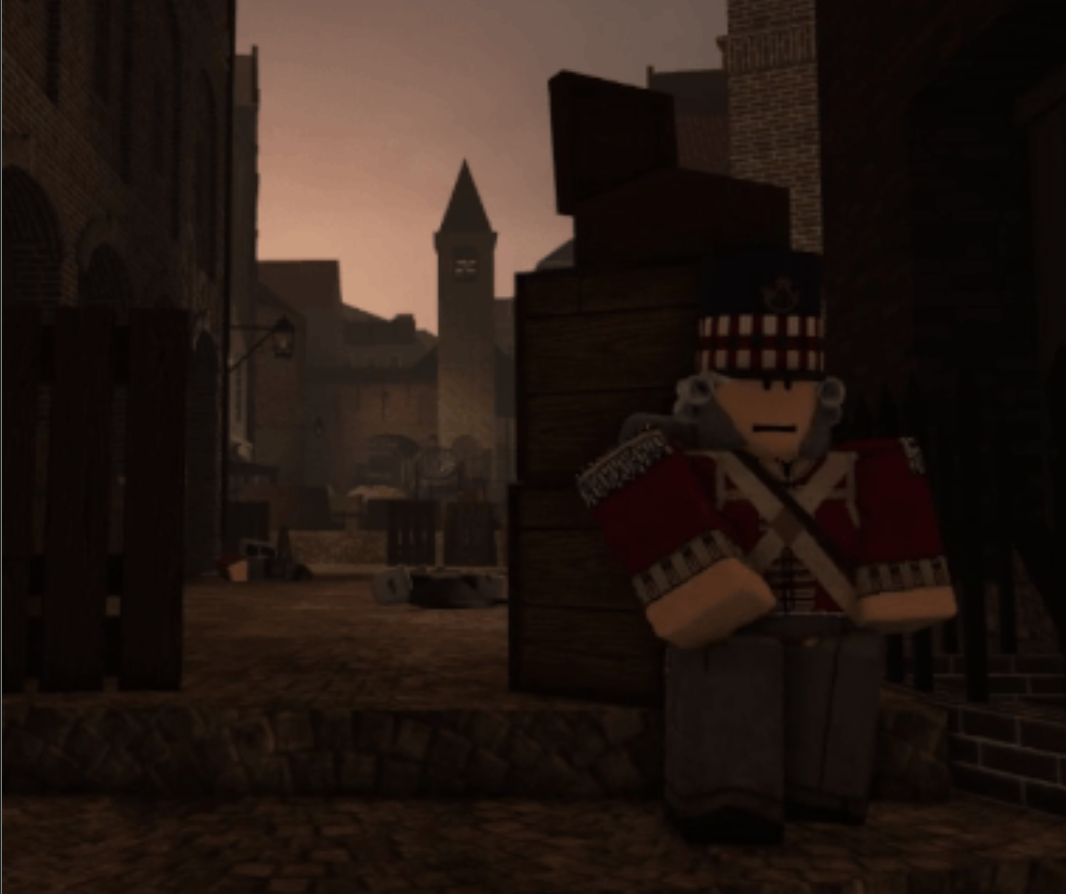
Later, the players encounter a Scottish soldier who warns them about riflemen positioned in a church steeple. He says they “shoot anyone—dead or alive!”
His friend Jimmy is already dead (the Scottish soldier either does not, or refuses to realise it). He attempts to rescue him and is immediately shot.
The riflemen belong to the 95th Regiment of Foot. Historically, the 95th were famous for their use of the Baker rifle and for their marksmanship, making them a particularly fitting choice for this scene.
More disturbingly, the riflemen appear to know they are shooting humans. They shout insults at their targets, giving the impression that they are still deliberately following military orders.
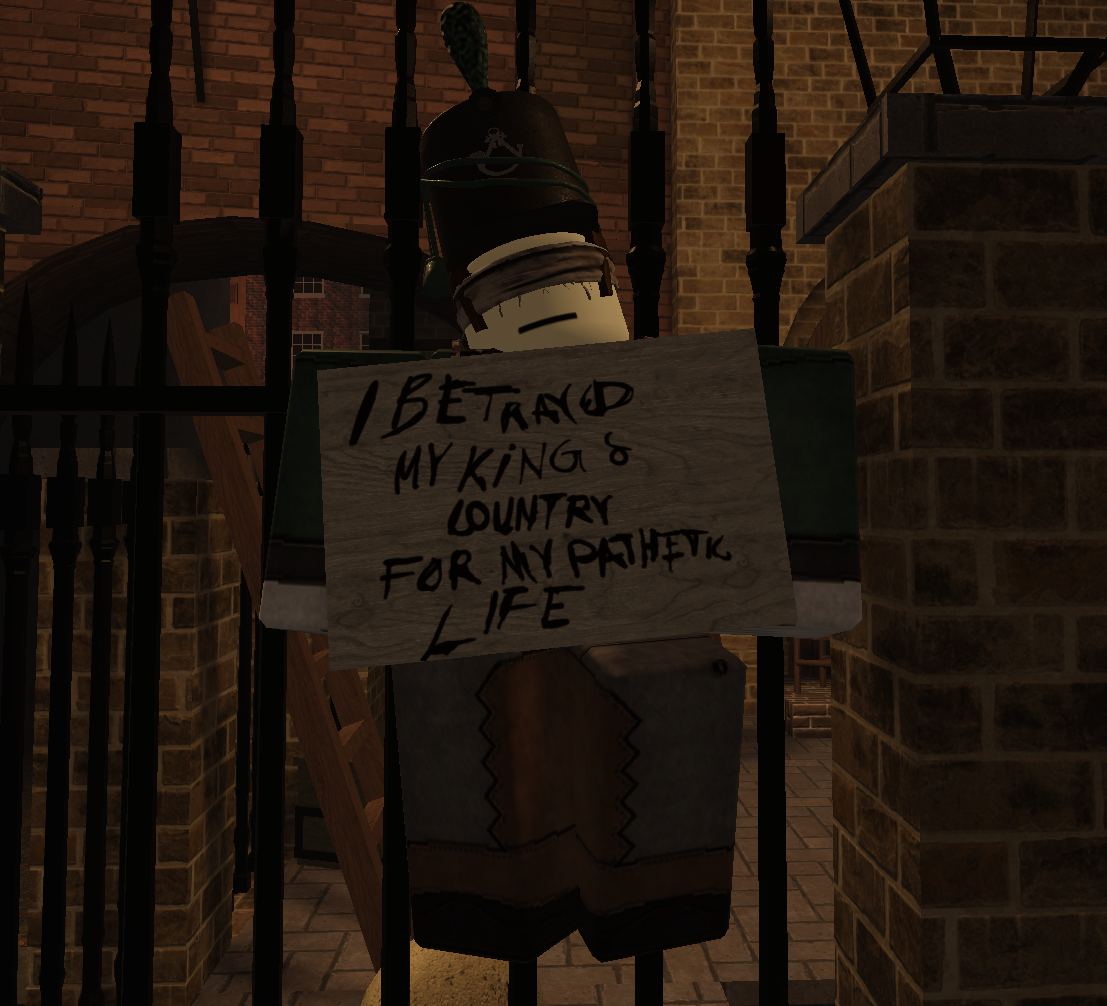
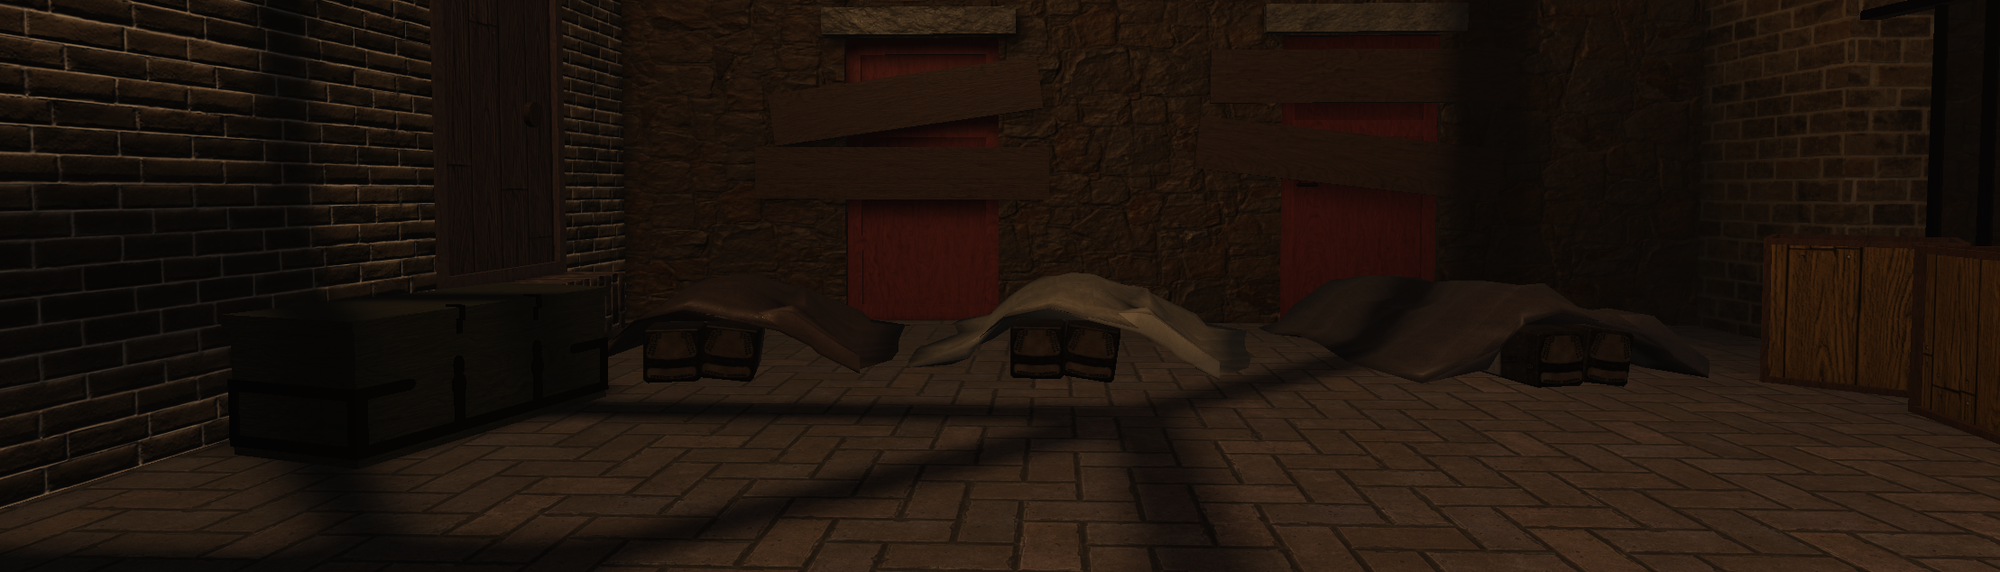
Nearby are several dead members of the 95th, as well as the body of their former officer. Around his neck is a sign reading:
“I BETRAYED MY KING & COUNTRY FOR MY PATHETIC LIFE.”
The scene suggests that the officer tried to desert and was executed by his own soldiers. Even while London collapses around them, the surviving riflemen continue enforcing military discipline.
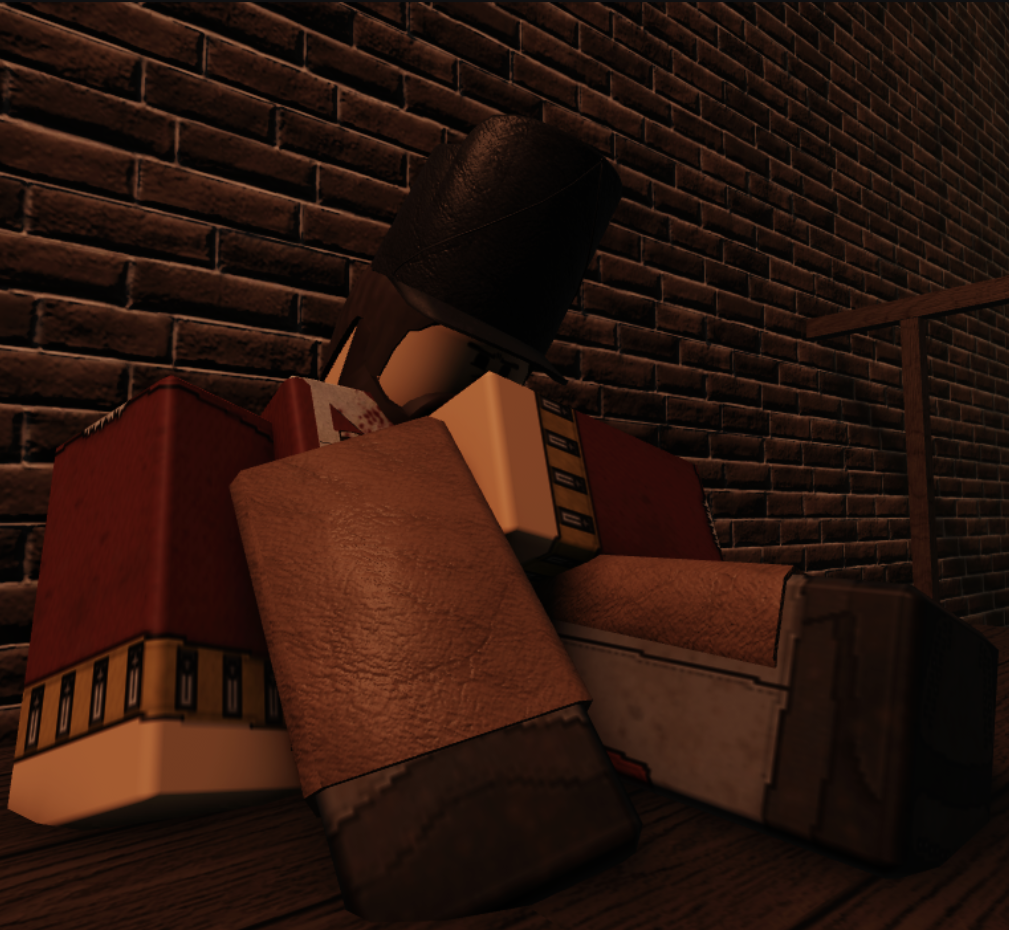
Near the end of the map, the players reach a vat house and meet a mortally wounded British engineer. His dialogue makes it clear that the defence of London has reached its final stage:
“It’s not about saving London now, it’s about culling ’em!”
That line summarises everything the map has been building towards.
At St Paul’s, the players see an army still trying to defend London through recruitment centres, field hospitals, barricades and destroyed bridges. As the players move further through the city, however, defence gives way to containment, and containment eventually gives way to destruction. By the time the players reach the engineer, saving London is no longer the goal.
London is one of the most detailed maps in Guts and Blackpowder because it tells most of its story without directly explaining it. The players learn what happened through ruined buildings, dead soldiers, military notices and short pieces of dialogue.
Rather than being told how London fell, we walk through the evidence of its collapse.
Unfortunately, according to the Engineer, London isn’t quite over. His dying words foreshadow the next map.
“Save what’s left of Westminster!”


Member discussion